
A 3D walkthrough is the closest thing a buyer can get to visiting a project that has not been built. For a developer it is also one of the few marketing assets that works at every stage of a launch: on a hoarding QR code, in the sales lounge, on YouTube and in paid ads. Yet many launches commission it too late, brief it loosely, and review it badly. This guide is written to prevent that.
It covers what a walkthrough is, how it differs from related formats, when to commission each one, what to send us, how long it takes, how to review the clay and draft stages, where to use the finished film and the mistakes we see most often.
What a 3D walkthrough is
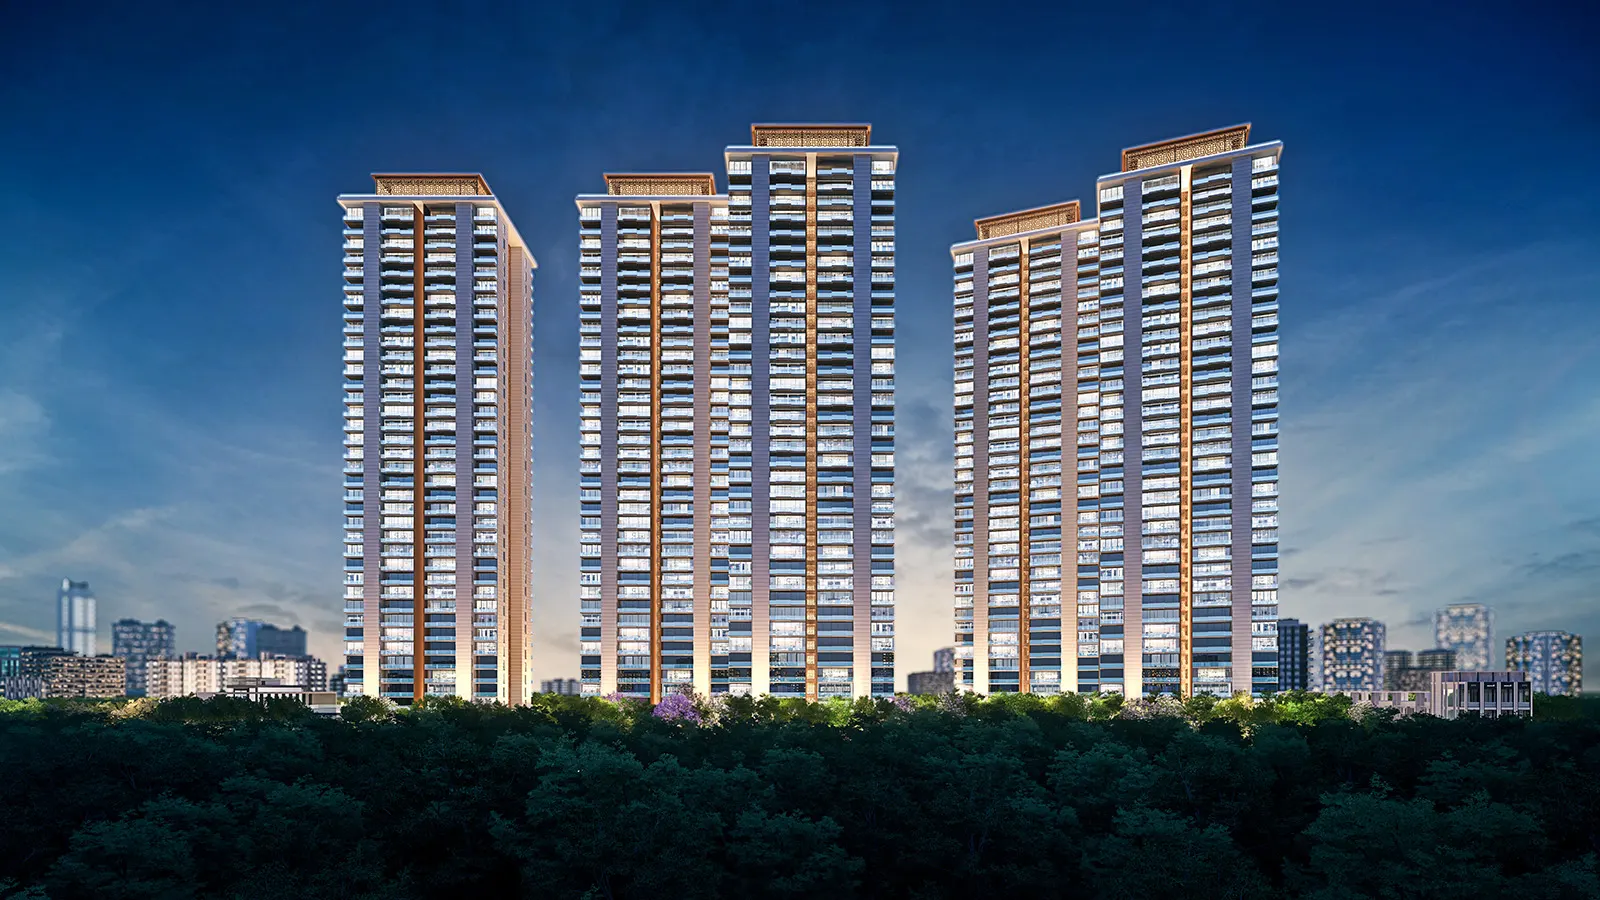
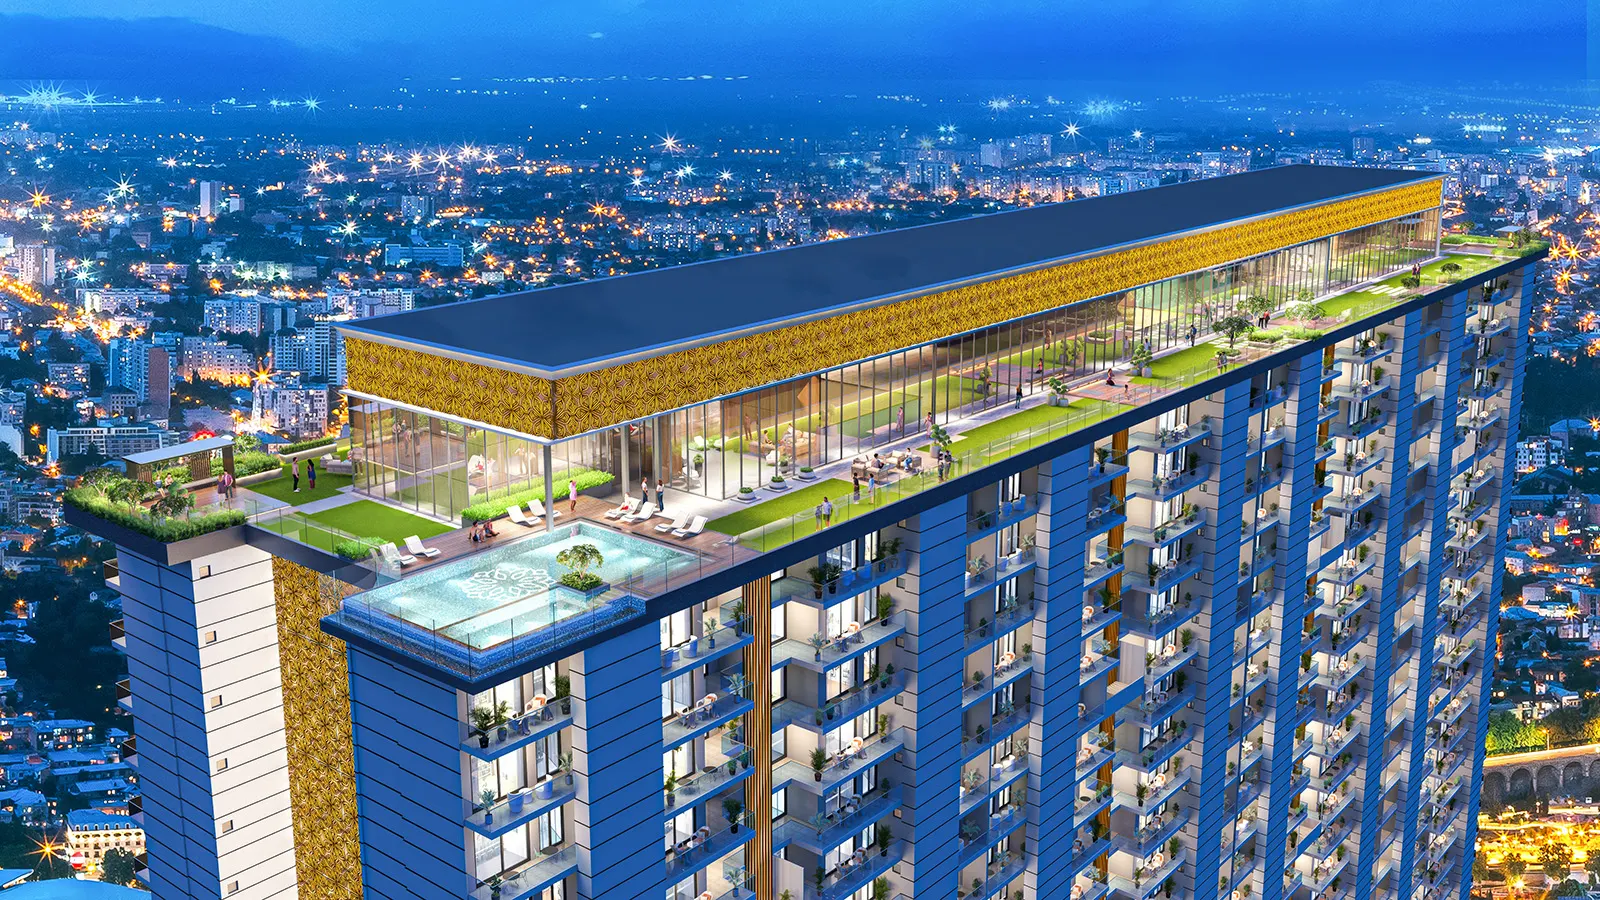
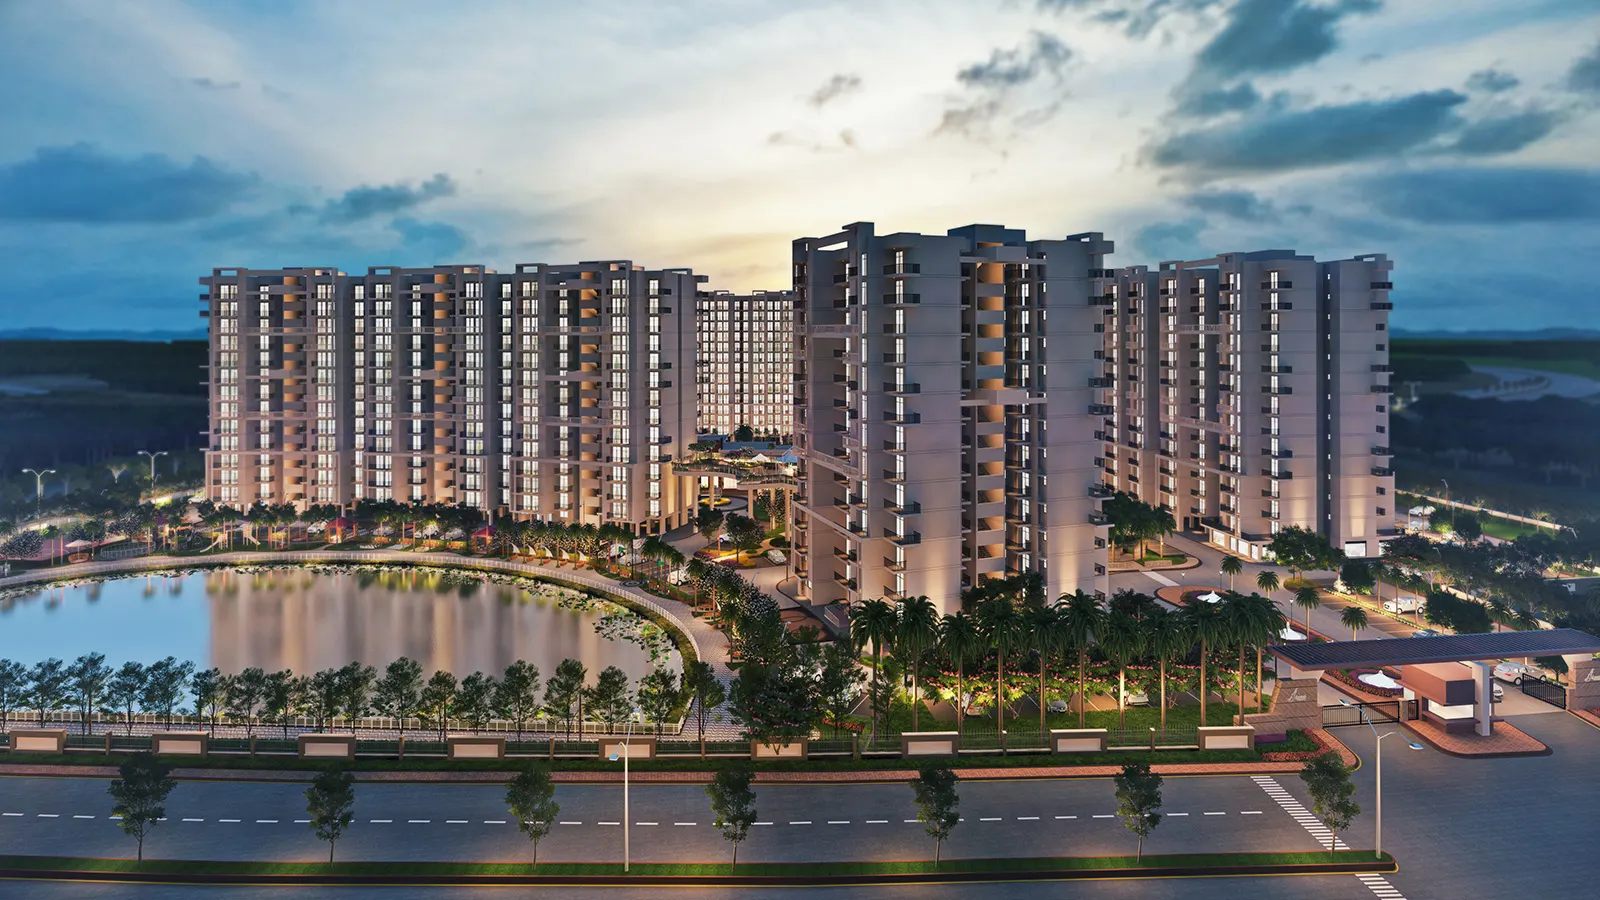
A 3D walkthrough is a film in which a virtual camera moves through a project that has been modelled in 3D from approved drawings. The camera might arrive at the entrance, glide past the towers, enter the lobby, pass through a sample flat and finish on the amenity deck. Everything on screen is built in 3D and finished with lighting, materials, landscape, people and sound.
Two points matter for developers.
First, a walkthrough is a story with a route. The route is designed: what the buyer sees first, what they see last, and which features get time. It is not a random tour of a model.
Second, it is based on your drawings. The geometry, heights, setbacks and layouts follow the plans you have approved. Landscape, people, vehicles and sky are added for mood, which is why a walkthrough should carry an artist’s impression note wherever your registration requires it. Your legal or compliance team decides the wording.
To see how we build these films, read the 3D walkthrough animation page.
Walkthrough, flythrough, renders and 360: the differences
These terms are used loosely, so it helps to separate them.
- Walkthrough. The camera moves at human eye level, outside and inside the project. It shows how the place feels to be in. It is best for apartments, villas, clubhouses and commercial interiors.
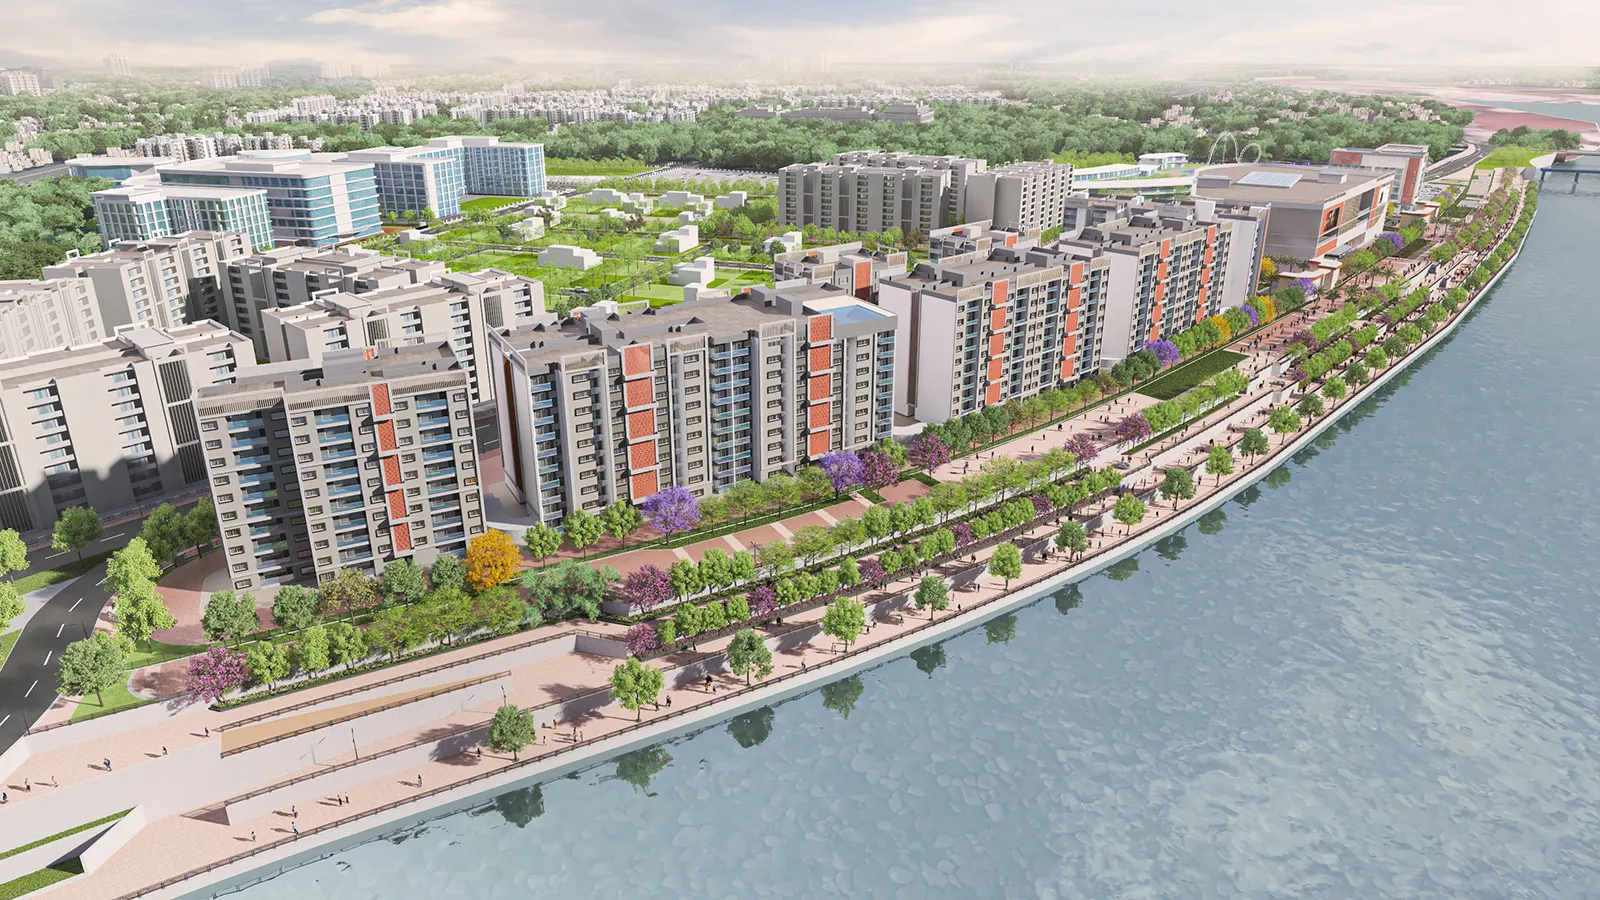
- Flythrough. The camera moves through the air, usually over a township or a large site. It explains scale, roads, parks, phases and surroundings. See township and aerial animation.
- Still renders. Single images of exteriors, interiors or landscape. They go on hoardings, brochures, websites and social posts. See 3D exterior rendering and 3D interior rendering.
- 360 views. The viewer controls the direction from a fixed point, on a screen or in a headset. They suit sample flats and amenity spaces. See 360 virtual tours.
- 3D floor plans. Plans shown with depth, furniture and finishes, so buyers can read a layout. See 3D floor plans.
None replaces the others. A film is better at emotion and sequence. A still is better at being printed, shared and studied. A 360 view is better at letting a buyer look where they want. A flythrough is better at scale.
When to commission each, across the launch cycle
The mistake we see most is ordering everything at the end, or ordering the film first and stills afterwards. A better order follows the dates your marketing team already has.
- Pre-launch teasers and hoardings. Start with still renders of the hero exterior in day and dusk. They are quick to produce, and the 3D model they create is reused later.
- Brochure and website. Add exterior, amenity and interior stills and 3D floor plans.
- Sales lounge. Commission the walkthrough film once the facade, landscape and key interiors are locked. This is also the time to add 360 views of the sample flat.
- Township or large-site launches. Commission the flythrough early, because it explains the project to channel partners before anything is built.
- Social and ads. Plan cut-downs and vertical clips alongside the master film, not after it.
Because the 3D model is built once and reused, commissioning stills first usually makes the later film easier, not just earlier. Our guide for developers sets out the asset kit for each stage.
The inputs checklist
A film can only be as accurate as the material it is built from. Send as much of the following as you have, and tell us honestly what is still open.
- Site and master plan. Boundaries, roads, entries, phases and surroundings you want shown.
- Architectural drawings. Plans, elevations and sections for every tower or unit type, in CAD or PDF.
- Landscape drawings. Layouts, plant lists or references, water features and hardscape.
- Interior drawings. For lobbies, clubhouses and sample flats: layouts, finishes and furniture references.
- Material and colour references. Facade, stone, wood, glass, paint and fixtures.
- Brand assets. Logo, project name, tagline, colours and any end-card wording.
- Artist’s impression and legal wording. Approved by your compliance team.
- Channels and formats. Lounge screens, YouTube, ads, social and print.
- Dates. Launch date and the date each asset is needed.
- A named approver. One person whose feedback is final.
We sign an NDA before you share anything, and drawings move through a secure cloud folder. If a detail is missing, we flag it early rather than guess.
The timeline
Timelines depend on length, number of scenes, detail and how fast feedback comes back. As a guide, a set of stills takes about a week, a walkthrough film takes 3–4 weeks from approved drawings, a township set takes 3–4 weeks and a VR project takes 4–6 weeks. Your quote states the dated schedule for your brief.
A typical film moves through these phases:
- Brief and drawings. We review inputs and agree scenes, route and formats.
- Modelling and clay stage. A grey model with camera paths. You review geometry.
- Colour draft. Materials, lighting, landscape and time of day are added. You review mood and finishes.
- Final. Final rendering, finishing, sound and titles.
- Delivery. Master film and cut-downs in the formats you asked for.
Plan backwards from your launch date. If a hoarding goes up before the film is done, the hoarding stills need to be delivered first. Our process page shows each stage in detail.
How to review the clay stage
The clay model is grey, with no colour and no texture. That is deliberate. It lets you judge shape and movement without being distracted by finishes. Changes made here are quick and contained. The same changes later are not.
At clay stage, check:
- Building massing and heights. Compare against your drawings. Are the towers in the right place and the right height?
- Entry and approach. Does the route begin where a visitor actually arrives?
- Camera path and pacing. Does the film linger on what sells, and move fast through what does not?
- Scene order. Does it tell the story you want, from arrival to amenity to home?
- Sightlines. Are the views from balconies and terraces believable?
- Framing of key features. Are the entrance, the clubhouse and the main amenity framed well?
At this stage, avoid comments on colour, tone or décor. They belong to the draft. If you comment on them now, they will be revisited anyway.
How to review the colour draft
The colour draft adds materials, lighting, landscape and time of day. It is the stage where the film starts to look like a finished project, and where most feedback tends to arrive.
Check:
- Materials. Are facade, stone, glass and wood what you specified?
- Lighting and time of day. Does the mood match the project’s positioning?
- Landscape. Do trees, lawns and water features match the landscape drawings?
- Interiors. Are furniture, finishes and fixtures right for the audience?
- Consistency. Do colours match across scenes and match your brochure?
- Notes and titles. Is the artist’s impression wording in place and correct?
Consolidate feedback into one document with timestamps or frame references. Resolve conflicts internally first. A single list of comments, from a single approver, is the most useful thing you can send us.
By the time you reach the final, there should be nothing left to discover. If a new idea comes up at final stage, it is usually better to save it for the next project than to reopen the film.
Where to use the film
A walkthrough has more uses than most teams plan for.
- Hoarding QR codes. A QR code on a hoarding that opens a short film turns a roadside glance into a view of the project. Link it to a landing page that carries the film, the project details and your enquiry form, and use a short cut so it loads fast on mobile.
- Sales lounge. Play the full film on lounge screens, and let the 360 views carry the sample-flat conversation. Silent or music-only films work well when the sales team is talking.
- Channel partners. Give brokers one approved version. It protects your brand and keeps the message consistent.
- YouTube. Host the master film on your channel with a clear title, description and location, and an end card with your enquiry details. Add the artist’s impression wording to the description.
- Website. Embed the film high on the project page, with the stills below it.
- Paid ads and social. Use shorter cuts and vertical clips with the hero shot in the first seconds. Plan them with the master film so framing works.
- Events and investor meetings. The longer film, with a flythrough for context, suits presentations.
Mistakes to avoid
These are the problems we meet most often.
- Briefing before drawings are approved. Late changes cause rework, and rework costs time and effort. If something is still open, say so and plan that scene last.
- Many approvers. Five opinions in five emails slow every round. Name one approver.
- Commenting on the wrong stage. Colour comments at clay stage and geometry changes at draft stage are the two common ones.
- Ordering the film first. Stills for hoardings are needed earlier, and the model they build makes the film better.
- Leaving formats until the end. Decide the channels at briefing so one set of camera moves can serve all of them.
- Ignoring the lounge. A film that works on YouTube may be too fast for a sales conversation. Brief for where it will actually play.
- Forgetting the disclaimer. Agree the artist’s impression wording with your compliance team before the final, not after.
- Treating the quote as the only scope document. Write the scenes, review dates and delivery formats into the brief, so everyone can check them against the same list. Our cost factors guide shows how each of these affects the work.
- Waiting for the perfect version. A good film delivered for the launch beats a better one delivered after it.
Next steps
If you are planning a launch, gather the checklist above and send your brief through the quote form. We reply with scope and schedule within 24 hours. Building in the region? Our Gurugram page and Delhi NCR page cover local launch context.