
A launch needs a small, planned set of renders, not a pile of pictures. Decide which assets you will print, post and screen, work out which view each one needs, and commission the renders in that order. Every image then does a job, and nothing is shot twice because the brochure wanted a different angle from the hoarding.
This guide walks through a typical launch, asset by asset. It explains which render type each one needs, how the clay, colour and final approvals keep a set consistent, and why renders are also a design review you get before construction. For the wider picture of what a visualization kit contains, see our page on 3D visualization for real estate developers.
Where renders work across a launch
Think of a launch as a set of places where a buyer meets your project. Each place has its own format, its own viewing distance and its own question to answer.
Pre-launch hoardings
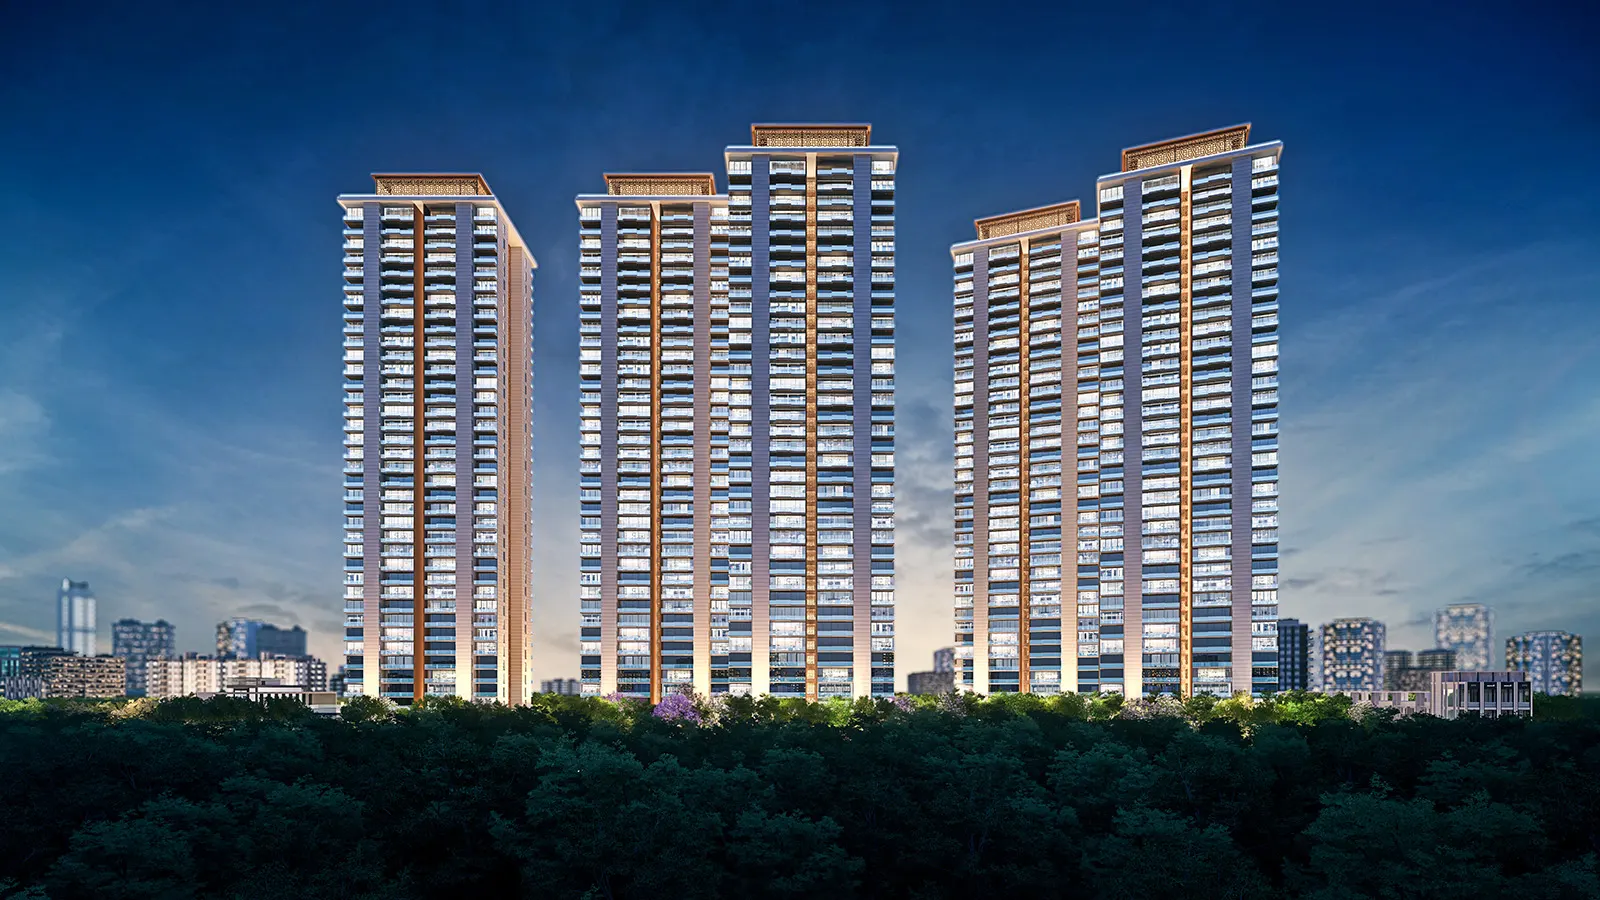
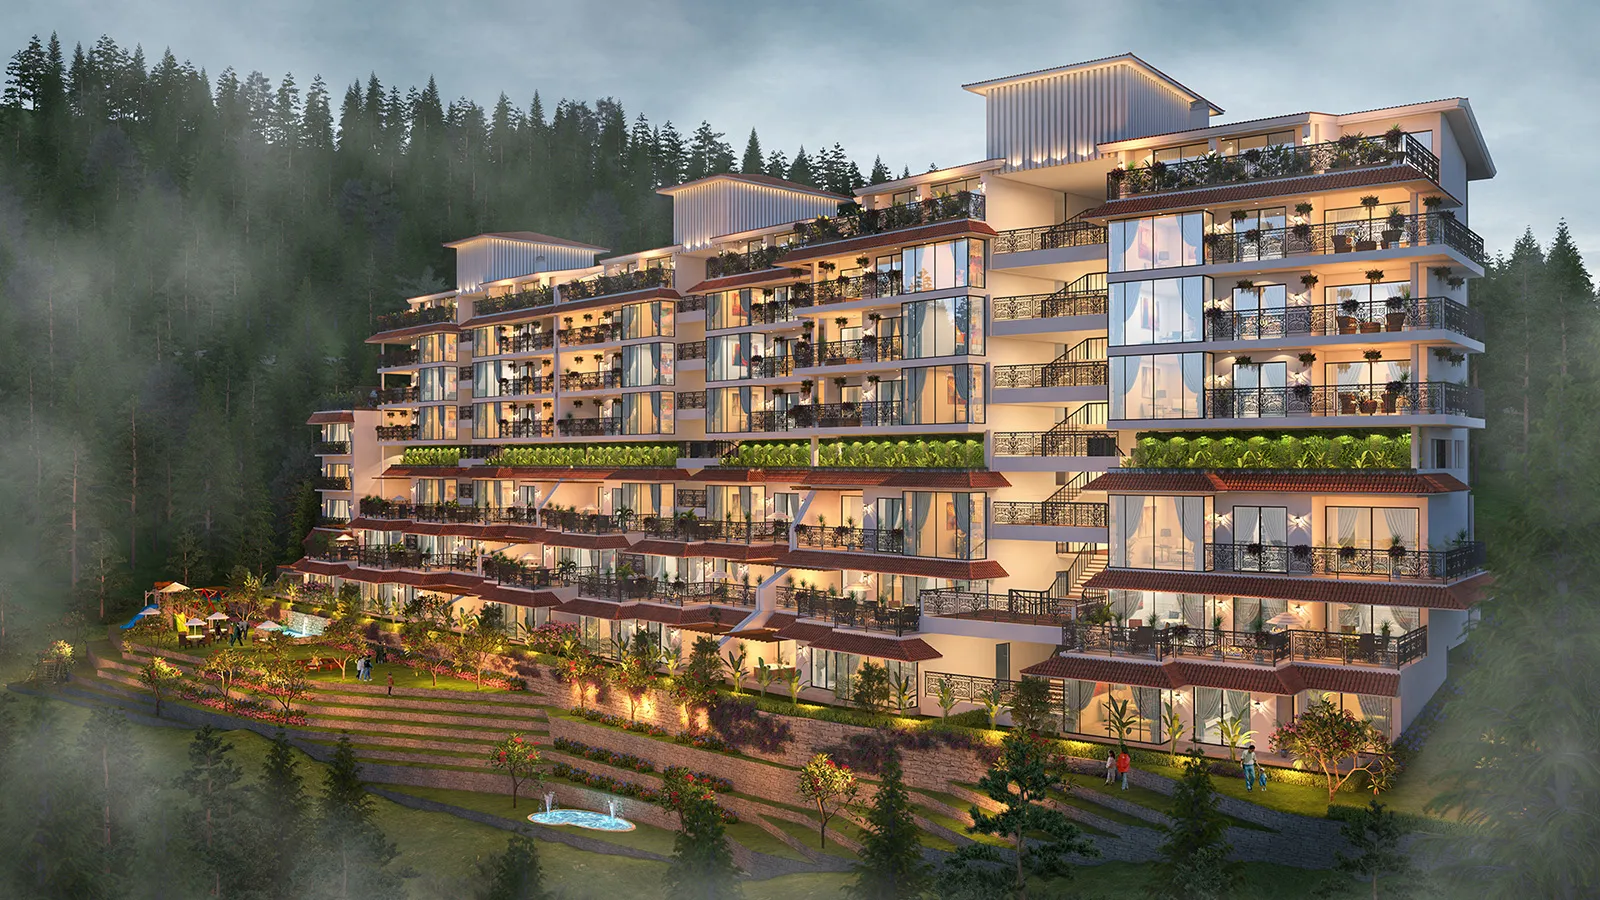
A hoarding is read from a moving vehicle or across a road in a few seconds. It needs one strong image with a clear silhouette, so the hero exterior is the usual choice. Dusk views suit this job: lit windows and a coloured sky give a tall building warmth against a busy street.
Outdoor sites come in very different shapes. A wide gantry over a road, a tall unipole face and a bus shelter panel each need a different crop, and a tower composed for a wide frame rarely survives being squeezed into a tall one. Send the studio the sizes and proportions of the sites your media agency has booked before the camera is set. Leave clean space for the project name, the contact number and the registration details, and tell the studio the largest print size so the render is made at the resolution it needs.
The brochure
A brochure is read slowly and kept. It carries the most varied set: the hero exterior, an amenity view, two or three interiors, and the unit plans. A brochure reader wants to understand the product, so show the lobby, the clubhouse and a typical living room alongside the facade. Plan the page layouts first, then ask for renders at the proportions those layouts need. A render cropped to fit afterwards rarely looks as good as one composed for the space.
Website and portals
The project page on your own site and the listings on property portals are where many enquiries start. A website can carry a full gallery plus a walkthrough film. Portals usually accept a limited number of images, so the first few must do the most work: the hero exterior, the best amenity view, a living room and the floor plan. Keep one look across all of them. When the same project appears in three different styles on three platforms, it can read as three different projects.
Sales lounge and site office
The sales lounge is where renders get the most time in front of a buyer. Large prints, a screen playing the walkthrough film and a physical model all work together. Here, depth matters: the buyer is sitting with a sales executive and asking about the park, the club, the tower they are considering. Interiors, amenities and the walkthrough film carry the conversation. Aerial views help buyers place the project in its surroundings, and floor plans help the sales team explain a unit without opening a drawing.
Social media
Social posts are small, quick and viewed on phones. Crop for the platform, keep the subject large in the frame, and choose renders that read clearly at thumbnail size. Dusk and night exteriors often hold up better at that size than a flat daylight view, and a vertical crop of an amenity or a lobby can work where a wide facade will not. Ask for vertical versions at the camera stage, not after the final.
Which render types each asset needs
The render types below are the building blocks. Most launches use all of them, in different proportions.
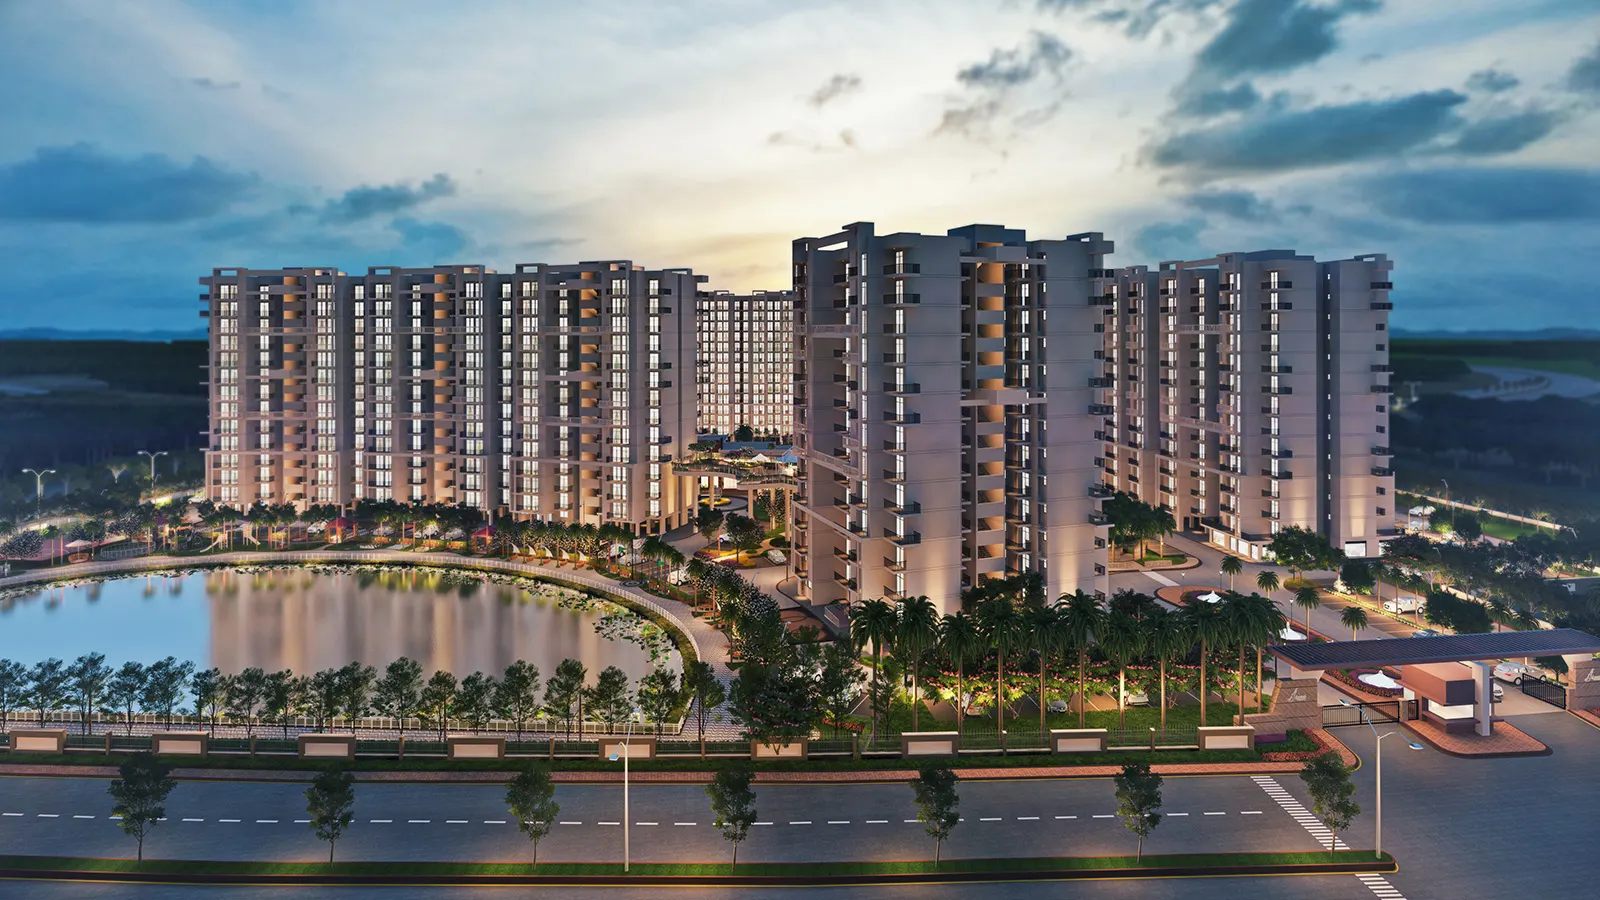
Exterior views: day, dusk and night. These describe the building and its setting. A day view is the honest reference: it shows the materials, the proportions and the landscape clearly. A dusk view is the emotional one, and is usually the hoarding and cover image. A night view shows the lighting design and the facade at its most dramatic. Commission the same viewpoint at two times of day and you have images for different media from one model. Our 3D exterior rendering page shows the range.
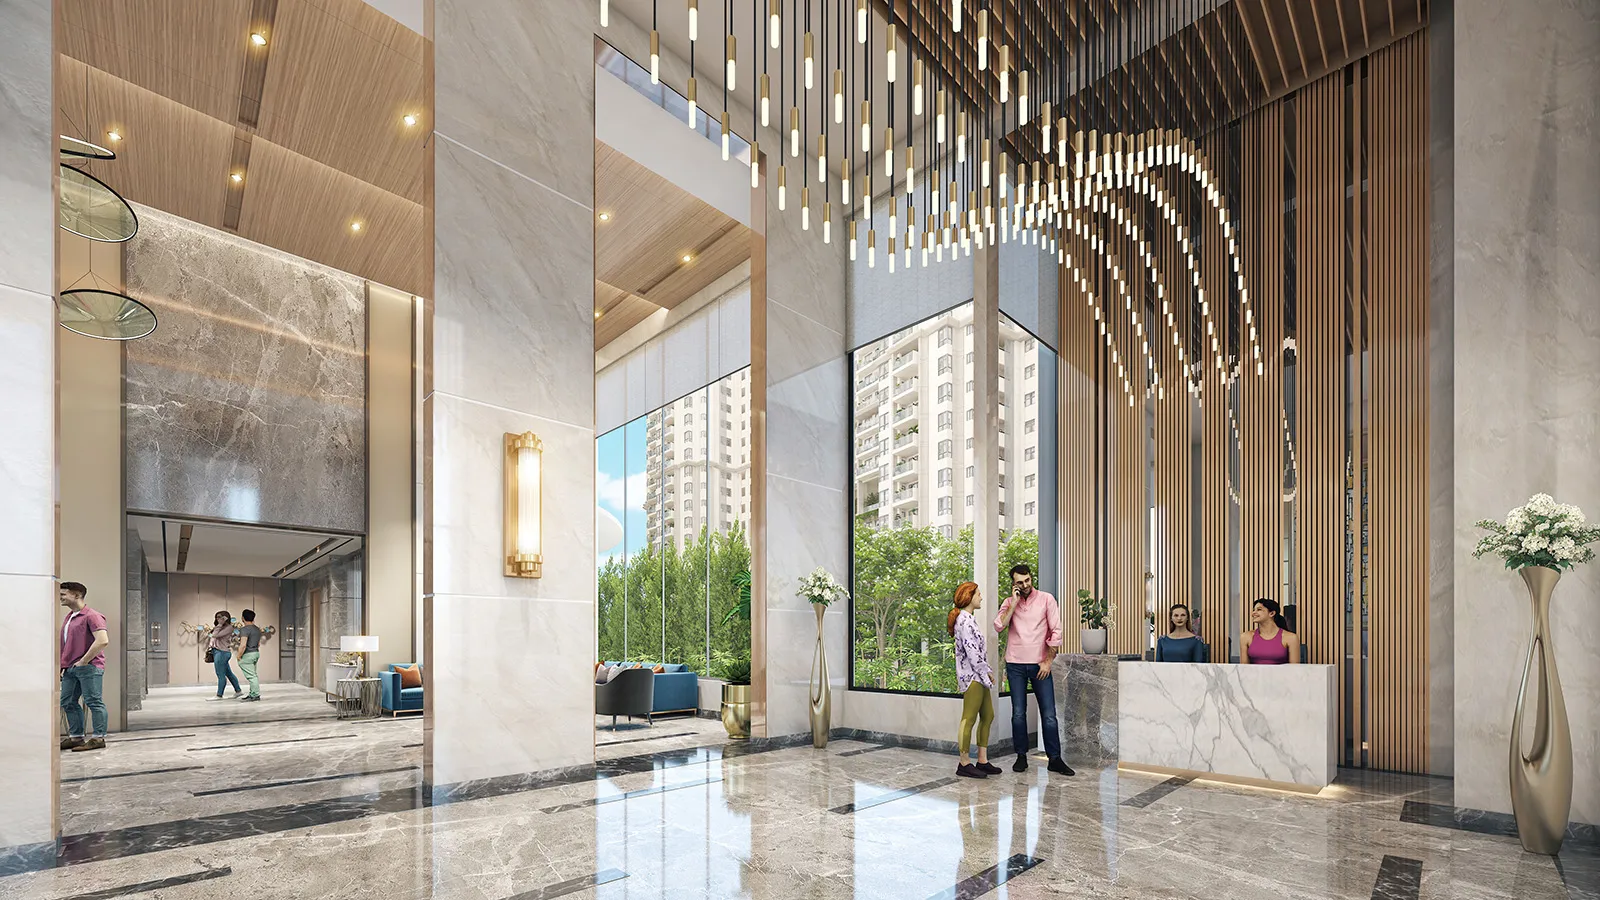
Interiors. Lobbies, model flats, living rooms, bedrooms, kitchens and clubhouse spaces. These answer the question a buyer asks after liking the facade: what will it be like to live there? Pick the rooms people care about most and show them with the furniture and finishes you actually intend to offer. Our 3D interior rendering page covers how we approach this.
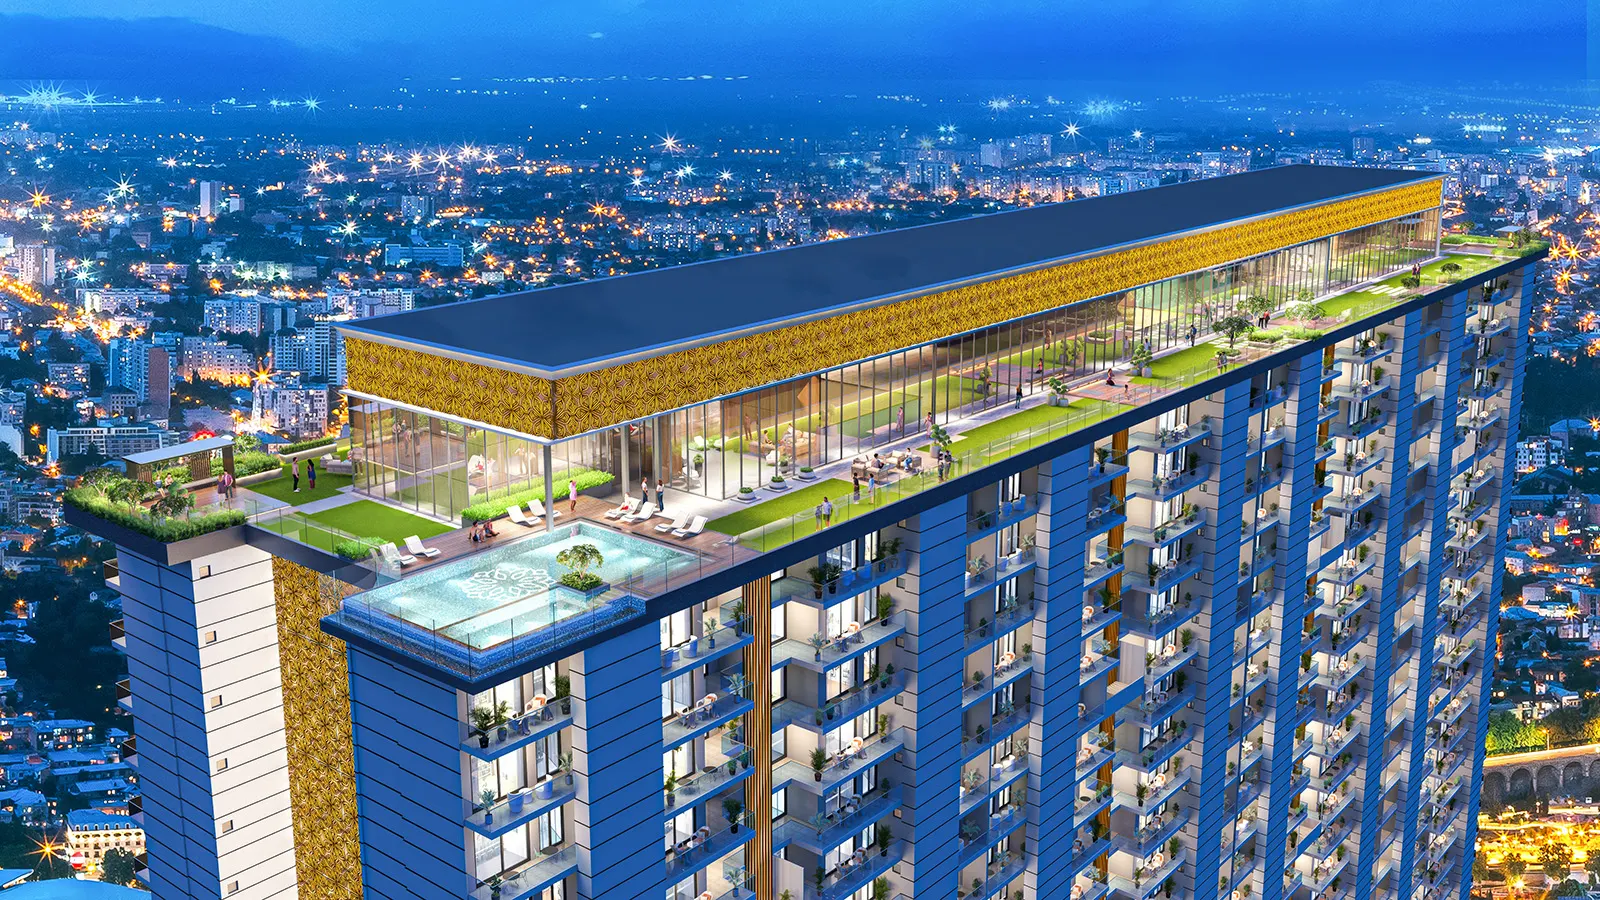
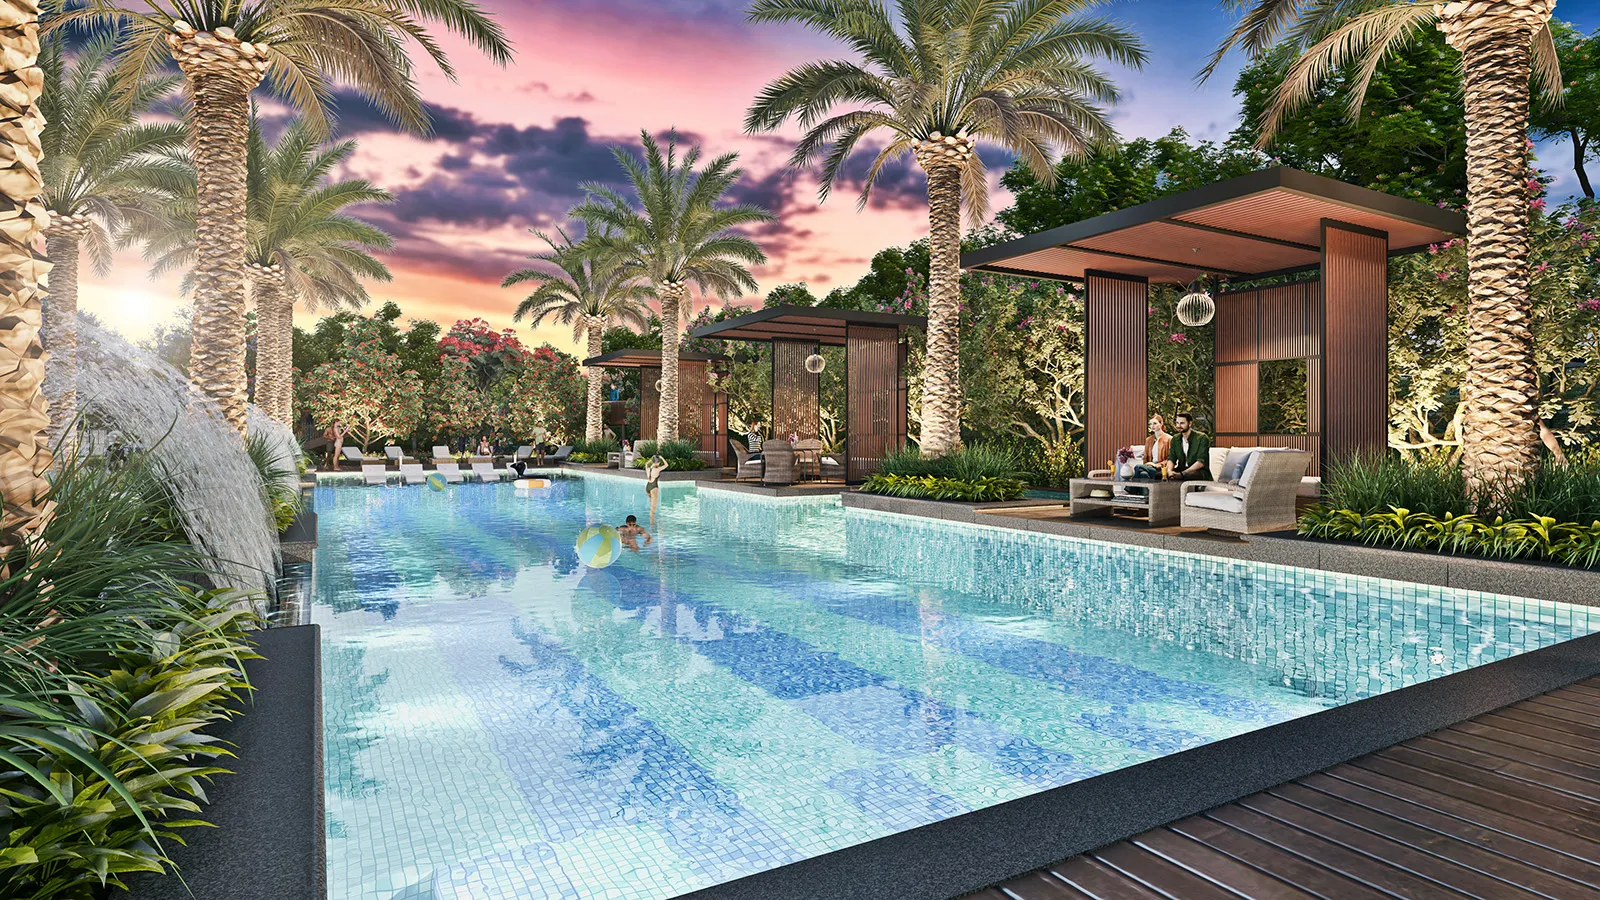
Amenities and landscape. Pool decks, podium gardens, play areas, courts and walkways. Families often ask about them first. Treat amenities as a first-class part of the set, not a leftover, and show them in use, with scale and light that feel right.
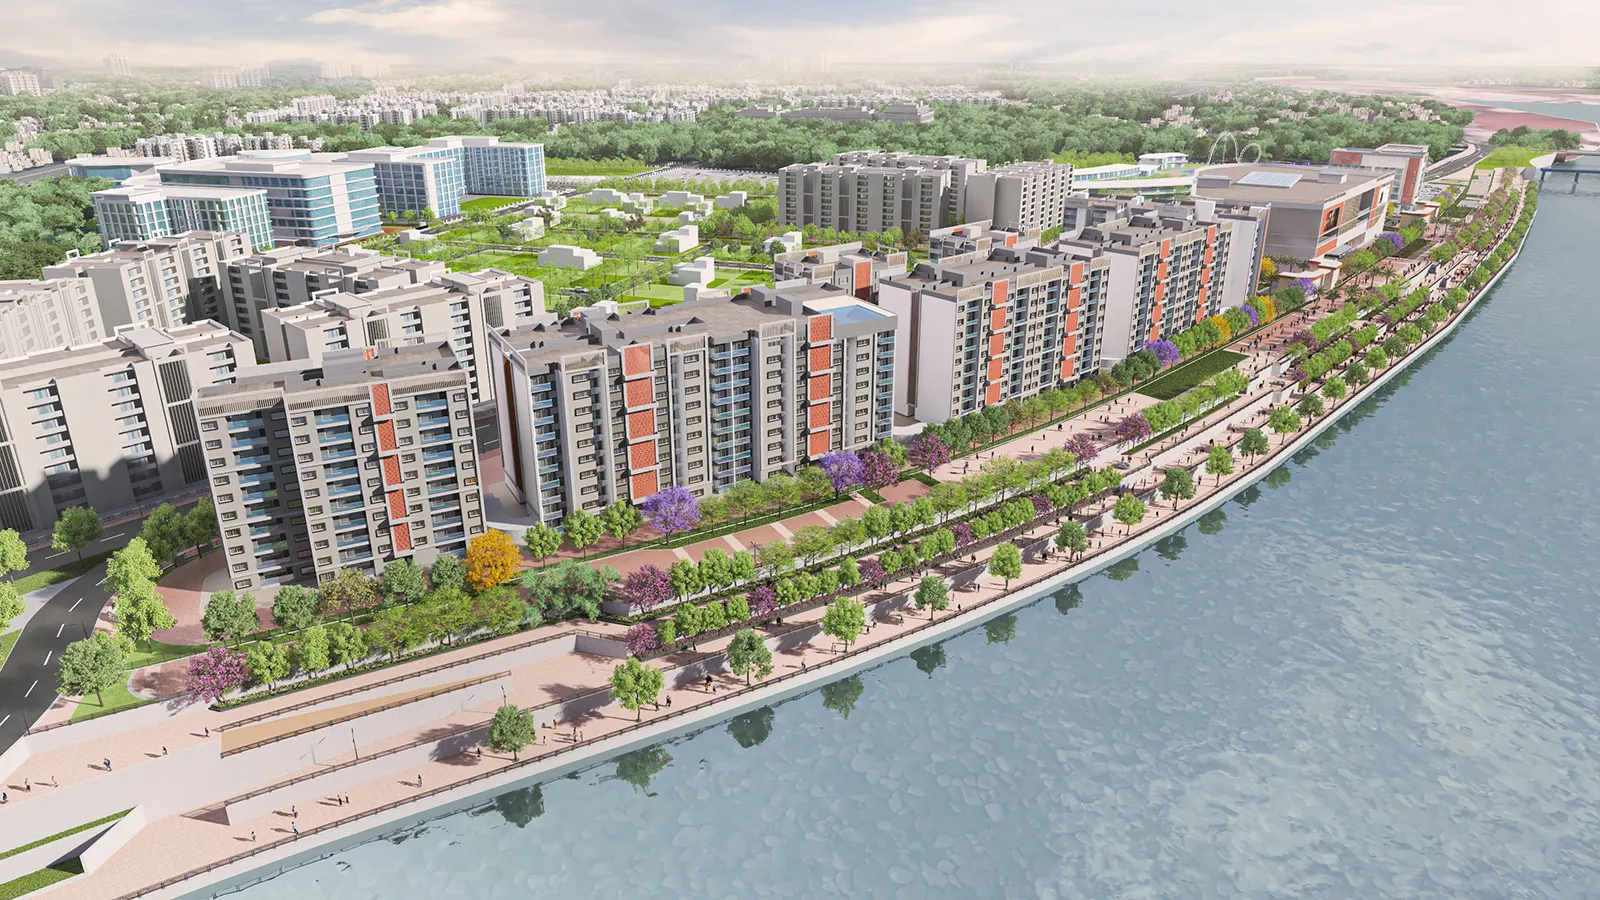
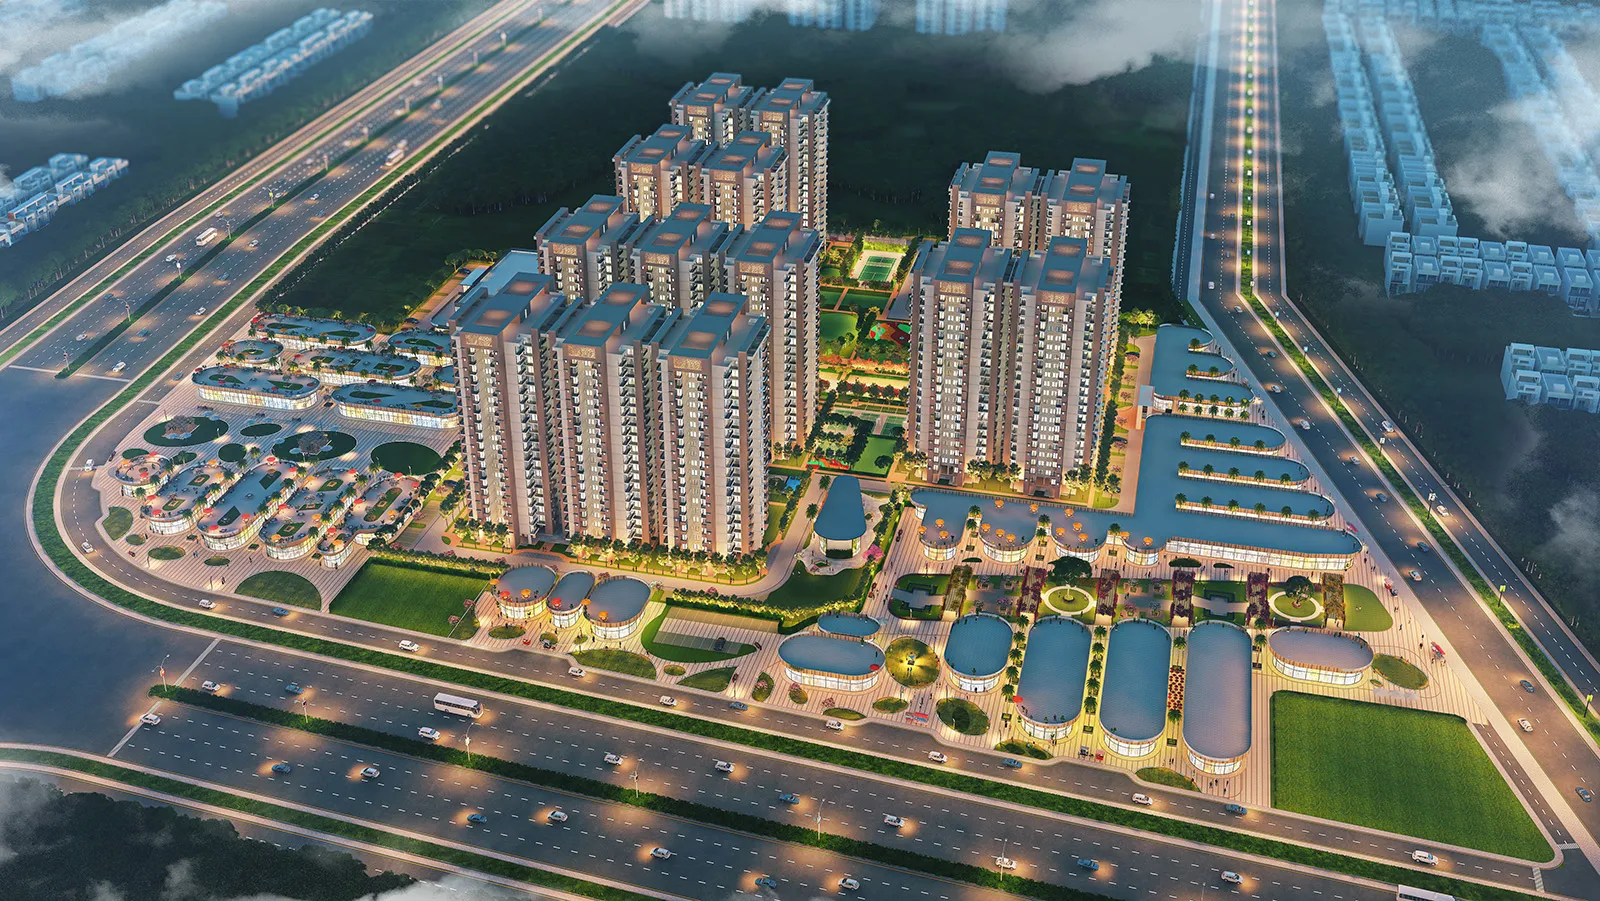
Aerial views. A bird’s-eye view explains a project’s location, its layout and its neighbourhood in one picture. They matter most for townships, plotted developments and large campuses, where the buyer needs to see how towers, roads, parks and clubs relate to each other. For multi-phase projects, an aerial is also the clearest way to show what is launching now and what comes later. See our township and aerial animation page for the film version.
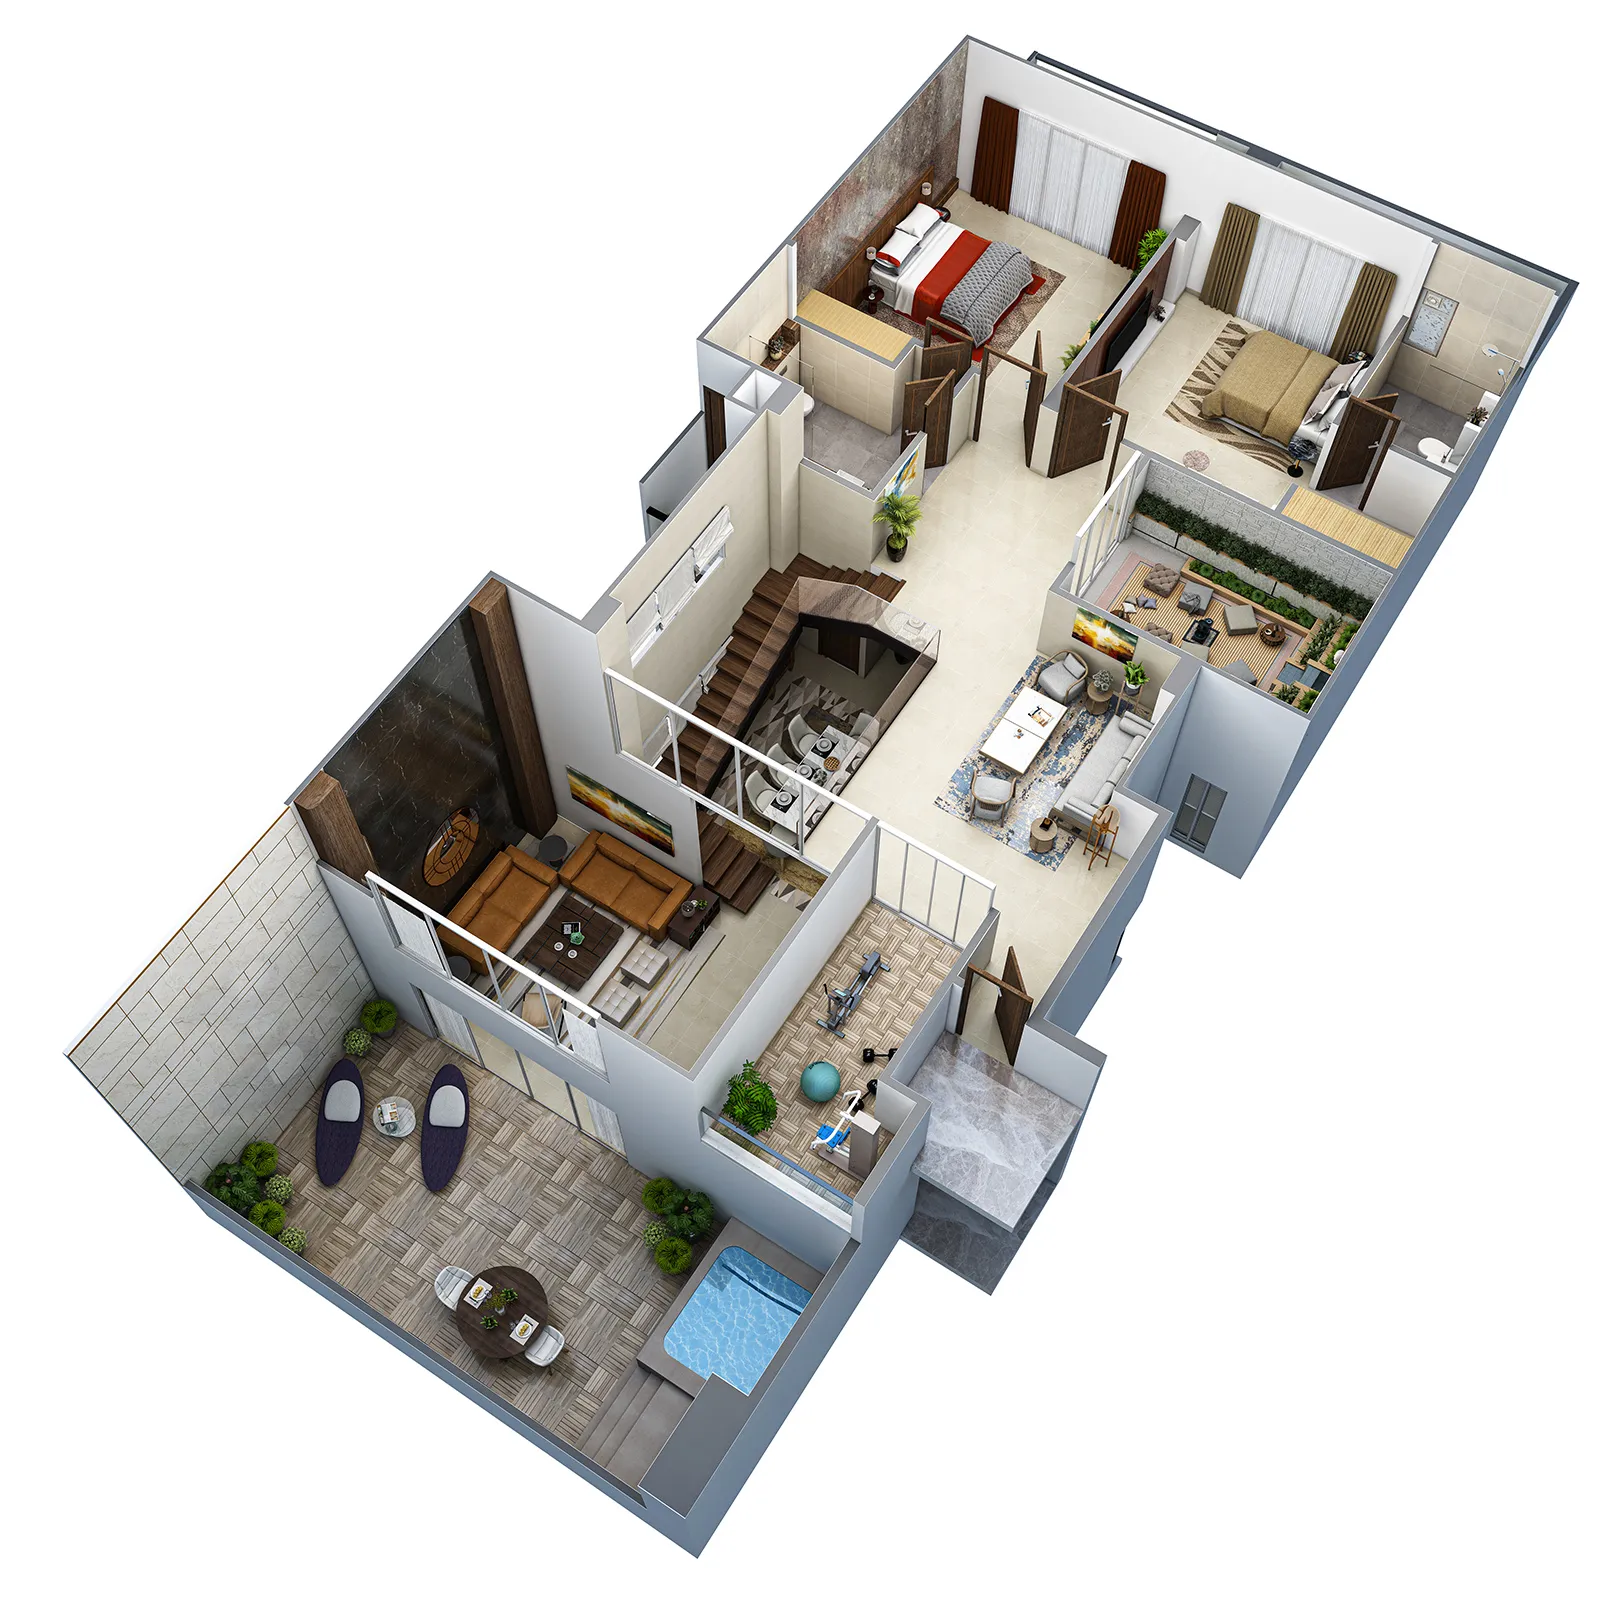
Floor plans. A 3D floor plan shows rooms, furniture and circulation in a way many buyers find easier to read than a line drawing. It is the best asset for explaining a unit to someone who cannot visit, and it belongs in the brochure, on the portal listing and in the sales team’s WhatsApp pack. Our 3D floor plan rendering page covers the options, and our post on walkthroughs and 360 tours for NRI buyers shows how sales teams use plans with buyers who cannot visit.
The approval path: clay, colour, final
A set of renders stays consistent when it moves through three review stages. Agreeing on these early is the most reliable way to avoid late changes.
Clay. The first stage shows the building as a plain grey model with no colours or materials. It looks unfinished on purpose. The point is to approve things that are expensive to change later: the camera angle, the composition, the massing, the heights and the surroundings. Review the clay against your approved drawings. If the tower looks too close to the road in the clay, it will look that way in the final.
Colour. The second stage adds materials, lighting, landscape and a first sense of mood. This is where you review finishes, facade colours, glass tint, paving and planting. Compare against your specification, not against taste alone, so the image matches what will be built.
Final. The third stage is the finished image at full resolution, with sky, people, vehicles and final lighting. By this point only small corrections should be left. If you are still discussing camera angles at the final stage, the earlier approvals were not firm enough.
A set of stills usually takes about a week. Larger sets are scheduled on the brief, and the dates depend on how quickly each approval comes back. Our process page shows each stage.
Renders show design problems before construction
Renders are not only for marketing. Because they are built from your approved drawings, they show the design as a buyer or a site engineer would see it, and they often expose issues that a plan or an elevation hides.
A parapet that blocks a view, a podium garden that feels cramped, a lobby with an awkward sight line, a balcony that looks too close to the neighbour: these show up when a camera stands where a person would stand. Catching one of these in the clay stage is far easier to fix than discovering it when the building is half built or when the first buyers visit.
Use this deliberately. Ask your architect and project team to look at the clay renders as a design review, not just as a marketing preview, and note anything that surprises them. A few hours of review at this stage can prevent rework on site later.
A note on labels and compliance
Renders are illustrations. They show how a project is intended to look, and the final building will differ in small ways. That is why marketing images are usually labelled as an artist’s impression.
RERA rules and the guidelines of your state authority may also set requirements for how a project is advertised, for example around registration details. We do not interpret those requirements, and the exact wording and placement are for your legal or compliance team to decide. Please treat this section as general information, not legal advice. What we can do is leave clear space in each layout for the label and registration details your team provides, so they never have to be squeezed in at the last minute.
Planning your set: a short checklist
Before you brief a studio, go through this list.
- List the assets. Hoarding, brochure, website, portals, sales lounge, site office, social. Note the size and format of each.
- Choose the views. One hero exterior at dusk, a day reference, an amenity view, two or three interiors, an aerial if the project needs one, and floor plans for each unit type.
- Share the drawings. Send approved plans, elevations, sections and material specifications, plus any reference images for mood.
- Agree the approvals. Name one decision-maker, and confirm the clay, colour and final stages and the date of each.
- Reserve space for labels. Tell the studio where artist’s impression and registration details will sit.
- Plan reuse. The same approved 3D model can feed stills now and a film later, so share the full launch plan up front.
When the stills are approved, the natural next step is the film. Our walkthrough guide for developers explains inputs, timeline and review stages for that format.
If you already know which views you need, send us your drawings and your launch date, and we will scope the set and reply within 24 hours.